
11. Settings#
The Joulescope UI remembers its settings: the application settings, each view, each instrument and each widget. It saves them when it exits normally and restores them the next time it starts. This chapter explains where each setting lives, how defaults work, and how to save, share and reset your settings.
11.1. Defaults and instances#
Each kind of device and widget has defaults, and each connected device and open widget is an instance with its own settings. For example, Waveform holds the defaults for Waveform widgets, and each Waveform widget in a view has its own settings.
The UI copies the defaults when it creates an instance:
A widget gets the defaults when you add it to a view.
A device gets the defaults the first time the UI sees an instrument with that serial number. After that, the UI remembers that instrument’s settings by its serial number.
Changing a default setting does not change existing devices or widgets. It only applies to devices and widgets created afterward. To change an existing widget, change its own settings, or reset it to the defaults (see Reset settings). Colors, fonts and defines are different: a default color applies right away to every existing and new widget, unless that widget changed the same color itself.
Level |
Applies to |
Examples |
|---|---|---|
Common |
The whole application |
Charge and energy units, OpenGL rendering, software update channel |
View defaults |
New views |
Color scheme |
View |
The active view |
Color scheme |
Device defaults, such as JS220 |
Instruments the UI has not seen before |
Sampling rate, current range |
Device, such as JS220-000049 |
One instrument, by serial number |
Sampling rate, current range |
Widget defaults, such as Waveform |
New widgets |
Trace width, statistics shown |
Widget, such as one Waveform |
One widget in a view |
Trace width, statistics shown, colors |
11.2. The Settings widget#
The Settings widget shows every setting. To open it, click the Settings button on the Side Bar.
The tree on the left selects what to change:
Common, UI and Paths: the application settings.
View defaults and View: the defaults for new views, and the active view.
Devices: each kind of instrument, such as JS220. Select it to change the device defaults. The connected instruments are listed below it, such as JS220-000049. Select one to change its settings.
Widgets: each kind of widget, such as Waveform. Select it to change the widget defaults. The widgets in the active view are listed below it. Select one to change its settings.
The tabs on the right show the selected item’s Settings, Colors, Fonts and Defines. Changes take effect immediately. Hover over a setting to show its description.
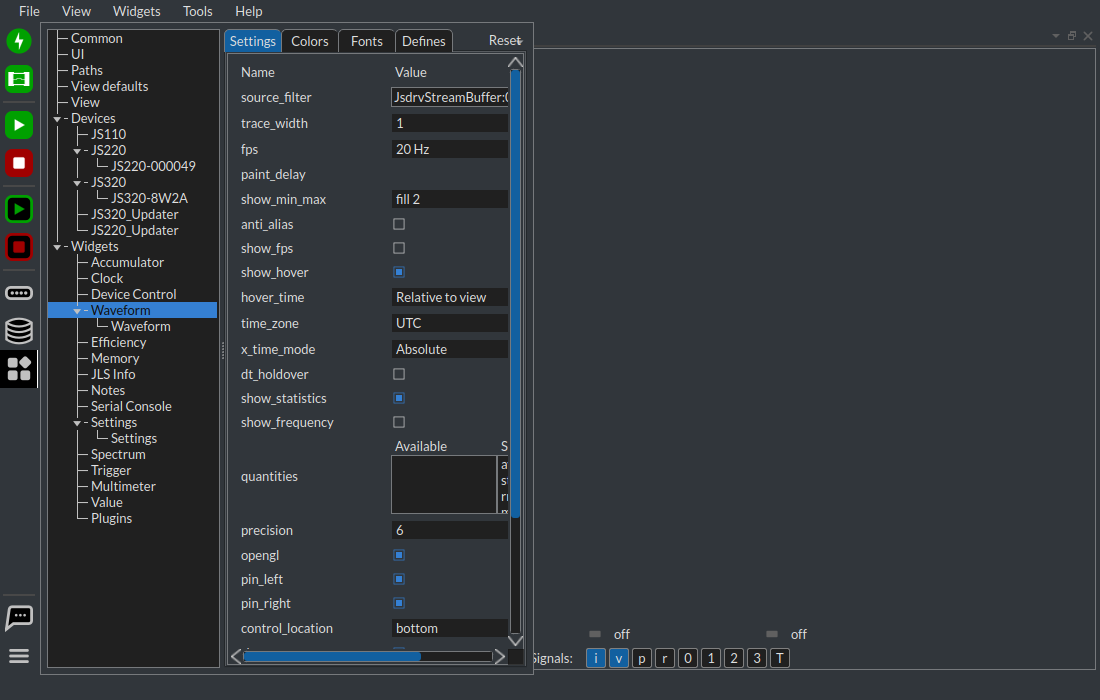
Select Waveform under Widgets to change the defaults for new Waveform widgets:
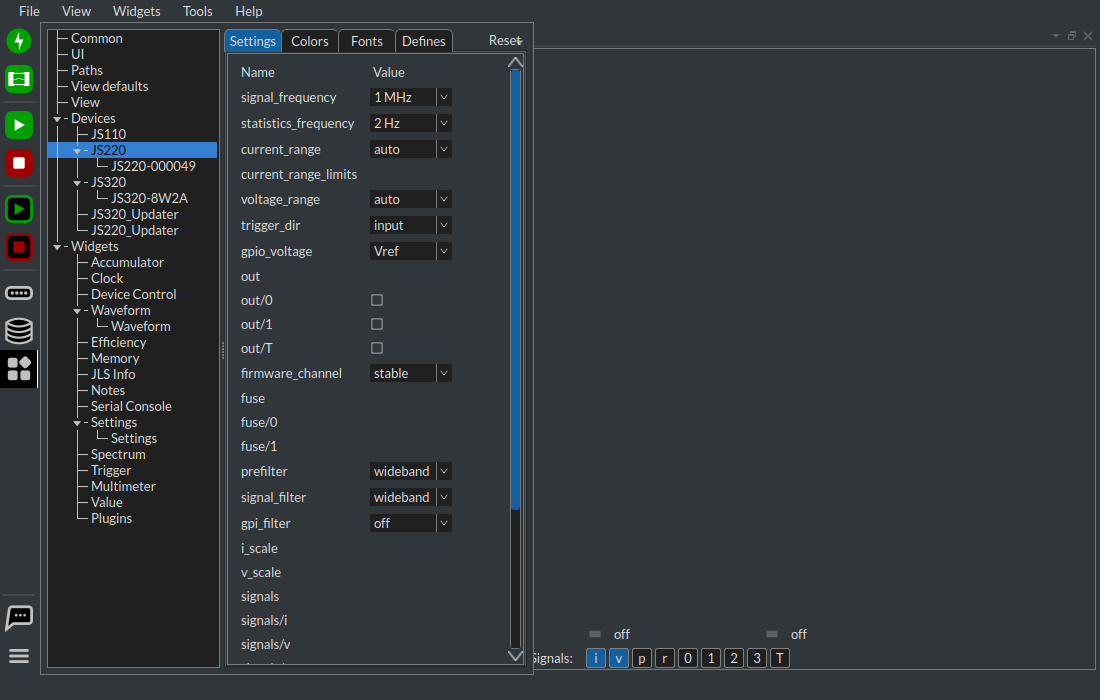
Select JS220 under Devices to change the defaults for JS220 instruments the UI has not seen before:
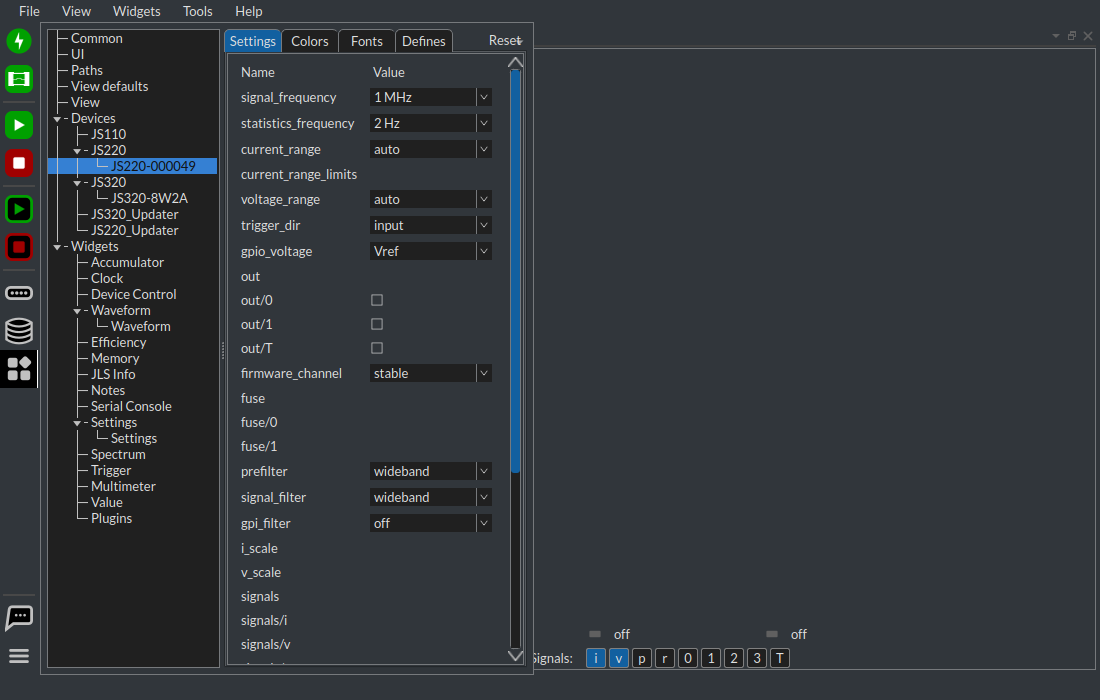
Select a connected instrument, such as JS220-000049, to change its settings:
You can also change settings from other places:
Right-click (control-click on macOS) on a widget and select Settings to change the settings for that one widget. This shows the same tabs without the tree.
The Device control button on the Side Bar shows the commonly used settings for each connected instrument. See Multiple Instrument Support.
The Memory buffer settings button on the Side Bar shows the memory buffer settings.
Many widgets show commonly used settings on their control bar. See Widgets.
11.3. Example: change the Waveform colors#
The Waveform widget draws each signal in its own color. To change the color of the power trace:
Right-click on the Waveform widget and select Settings, or select its Waveform instance in the Settings widget.
Select the Colors tab.
Find waveform.plot_p. Click the color swatch to choose a color, or type the color as
#RRGGBBAAhex.
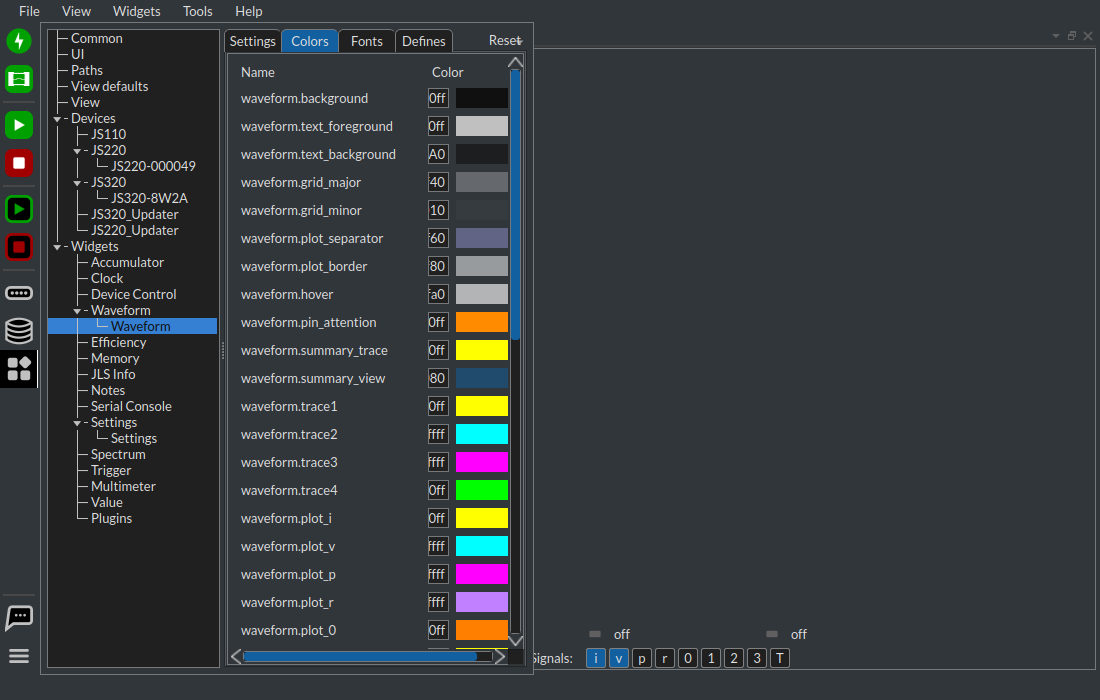
The waveform.plot_ colors apply when the widget shows one instrument:
i for current, v for voltage, p for power, r for current range,
0 to 3 for the general-purpose inputs and T for the trigger input.
When the widget shows multiple instruments, it colors each instrument with
waveform.trace1 to waveform.trace4 instead.
Colors belong to the color scheme of the active view, dark or light. A color you change in the dark scheme does not change the light scheme.
To change the colors of every Waveform widget, select Widgets → Waveform in the Settings widget, the defaults rather than an instance, and edit its Colors tab. The default colors apply right away to existing and new Waveform widgets, except for any color that you changed on the widget instance itself. View defaults works the same way for the colors of every view.
Note
Joulescope UI 1.8.0 shows the Colors, Fonts and Defines tabs only for widget instances. Upgrade to 1.8.1 or later to edit the widget defaults.
11.4. Reset settings#
The Settings widget shows each setting, color, font and define that differs from its default in bold. You can reset at three levels:
One setting: right-click (control-click on macOS) on its bold name and select Reset to default.
One tab: click Reset at the right end of the tabs, or right-click on the tab, and select Reset Colors to defaults, for example.
Everything for one item: right-click on the item in the tree, or click Reset, and select Reset to defaults…. This one asks you to confirm.
What “defaults” means depends on what you selected:
Selected |
Command |
Result |
|---|---|---|
A device or widget, such as JS220-000049 or one Waveform |
Reset to defaults |
The current device or widget defaults, such as JS220 or Waveform |
The active View |
Reset to defaults |
The current View defaults |
Device, widget or view defaults, such as Waveform |
Reset to factory defaults |
The values that ship with the Joulescope UI |
Common, UI and Paths |
Reset to factory defaults |
The values that ship with the Joulescope UI |
A reset leaves the name and the widget state alone, such as the Waveform markers and the view layout. Resetting a device closes it first. Press Ctrl+Z (⌘Z on macOS) to undo a reset.
The Reset to defaults button in Device control resets that instrument to the device defaults.
To return every setting in the application to its default at once, use File → Config → Clear and restart, described below.
Note
Reset and the bold names require Joulescope UI 1.8.1 or later.
11.6. Opening a recording directly#
When you open a JLS recording directly, for example by double-clicking it,
the Joulescope UI opens a separate window that only views recordings. This
window has its own configuration, joulescope_ui_file_config.json in the
same directory, separate from the main UI:
Settings changed in this window, such as the Waveform colors, do not change the main UI, and settings changed in the main UI do not change this window.
Select File → Settings to change its settings.
File → Config exports, imports and clears this window’s configuration only.
When you open a recording from the main UI with File → Open, it opens in the main UI’s File view and uses the main UI’s settings.
11.7. Safe mode#
If a setting prevents the UI from starting or working correctly, start it in
safe mode. On Windows and macOS, hold Shift while starting the Joulescope
UI. On Linux, start it with python -m joulescope_ui ui --safe_mode. The
Safe Mode Configuration dialog lets you choose whether to load the configuration on
start, save it on exit, or clear it on exit, and whether to start normally,
report an issue or close. Safe mode also uses software OpenGL rendering.
If the UI fails to start, it shows an error window. Fill in your contact information and a description, click Submit, and then select Revert to previous configuration or Revert to defaults.